2020/11/09 更新:
現在的 Android Studio 安裝時,都附帶有 Kotlin 了,不需要再另外安裝。
在Google I/O 2017 開發者大會中,Kotlin已被宣布成為Android 程式的官方一級開發語言(First-class language)。Android Studio 3.0之後的版本更直接內建支援Kotlin。
Kotlin能與Java在專案中並存,讓開發者能保有原本的專案,也能以Kotlin繼續開發。
安裝外掛
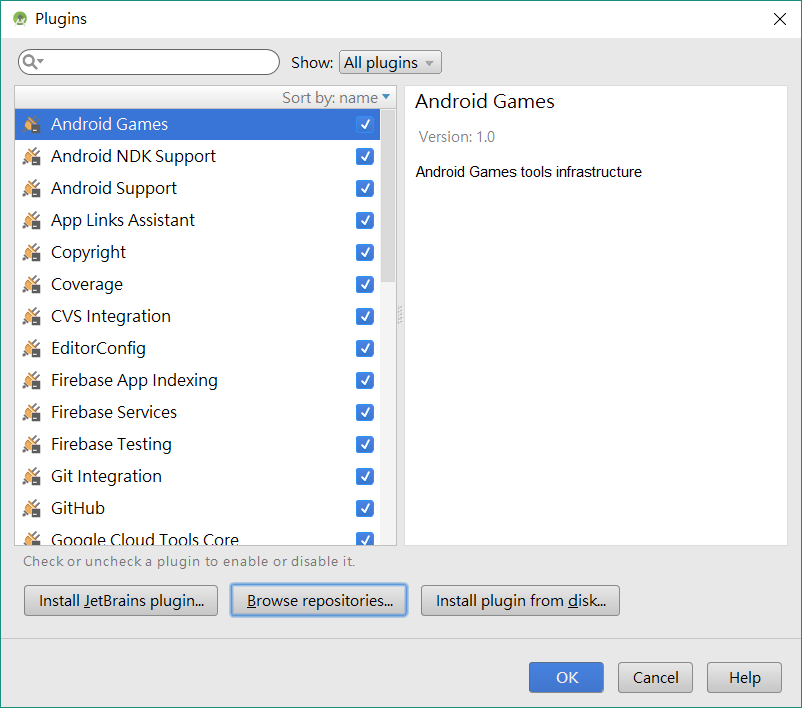
由於目前的Android Studio還沒內建支援Kotlin,所以我們要安裝Plugin
點選右下 Configure > Plugins
點選 Browse repositories…
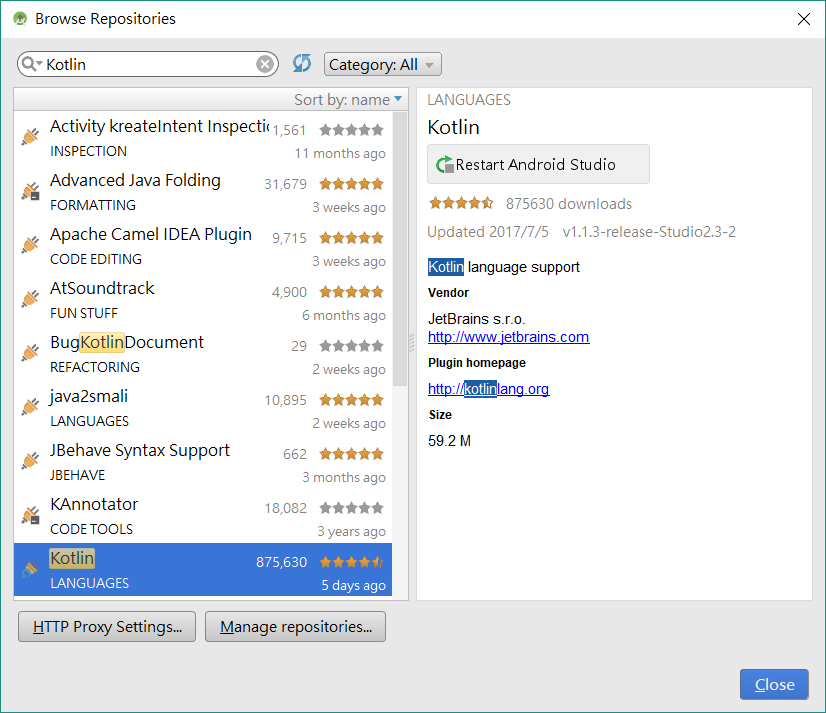
搜尋 Kotlin
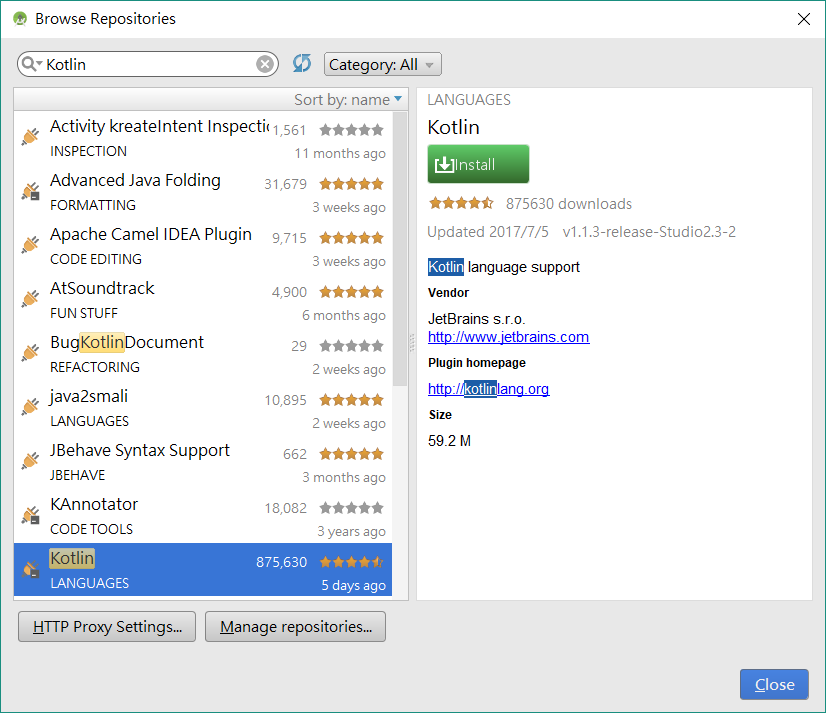
點選 Install,安裝完成後點 Restart Android Studio,重新開啟 Android Studio
第一支Kotlin程式
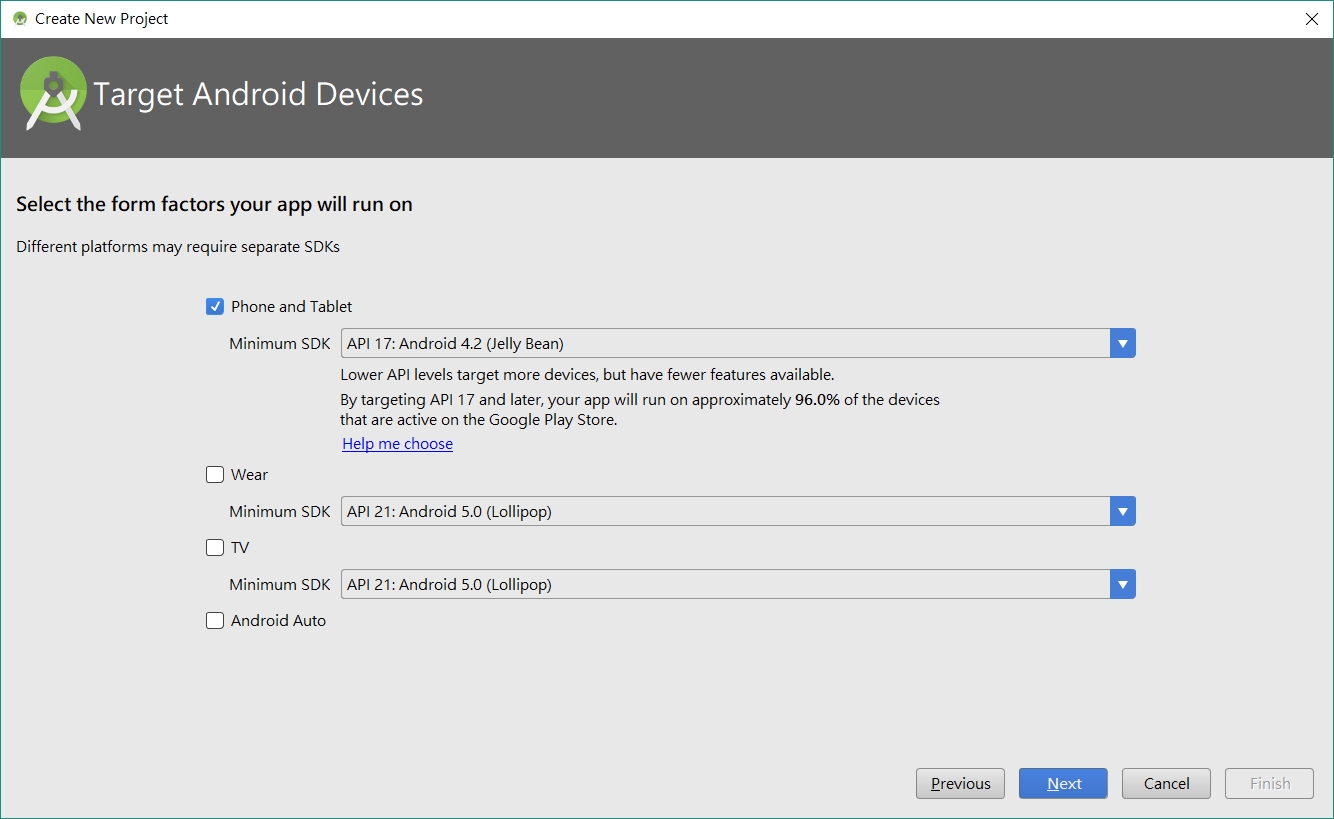
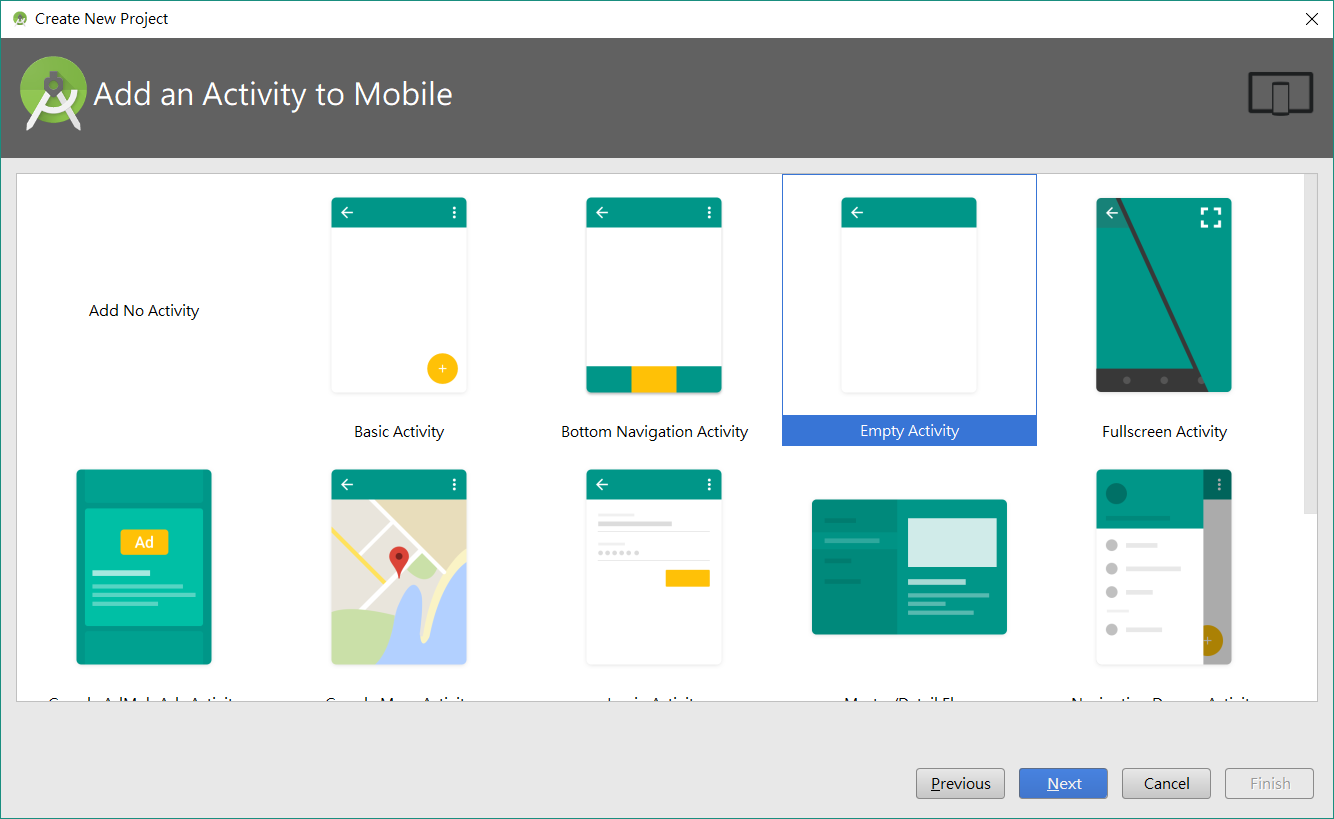
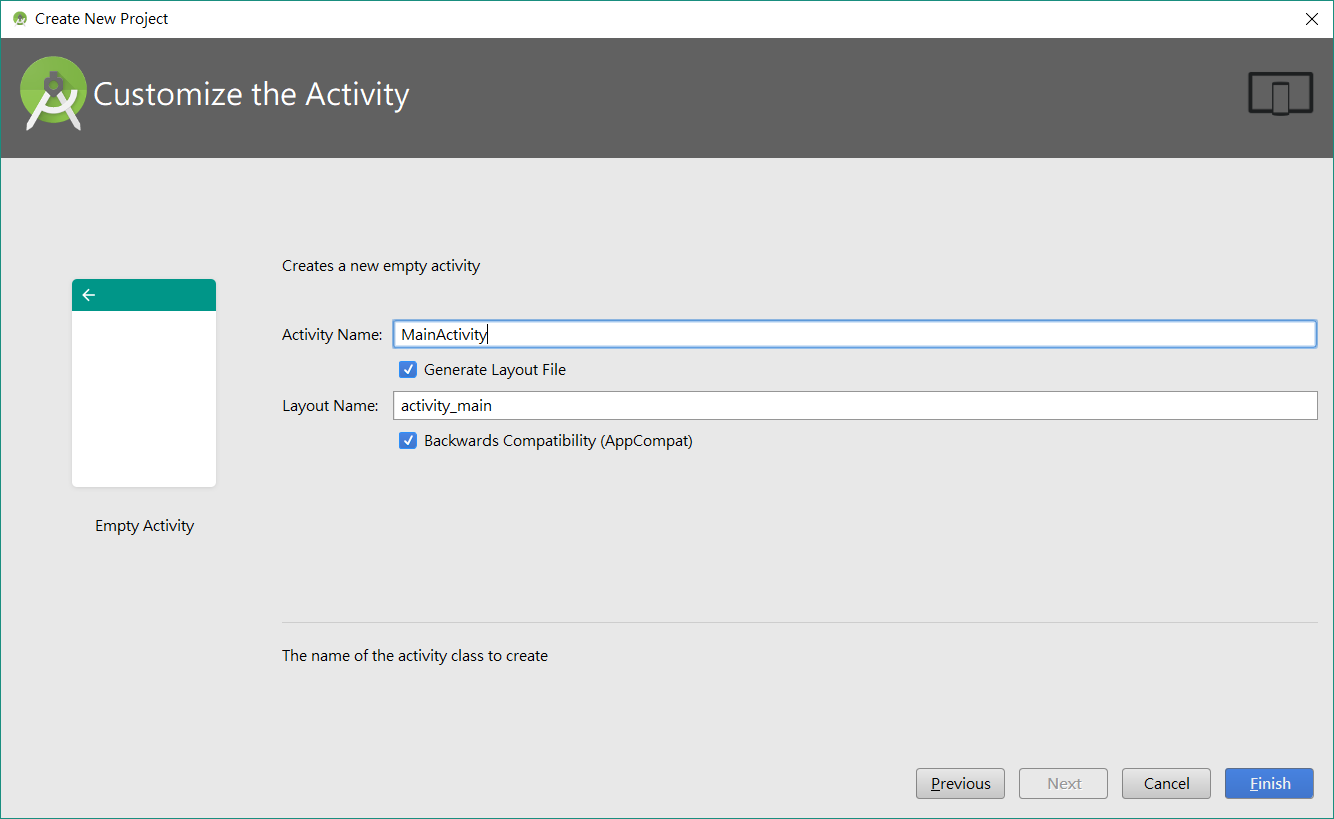
開新專案
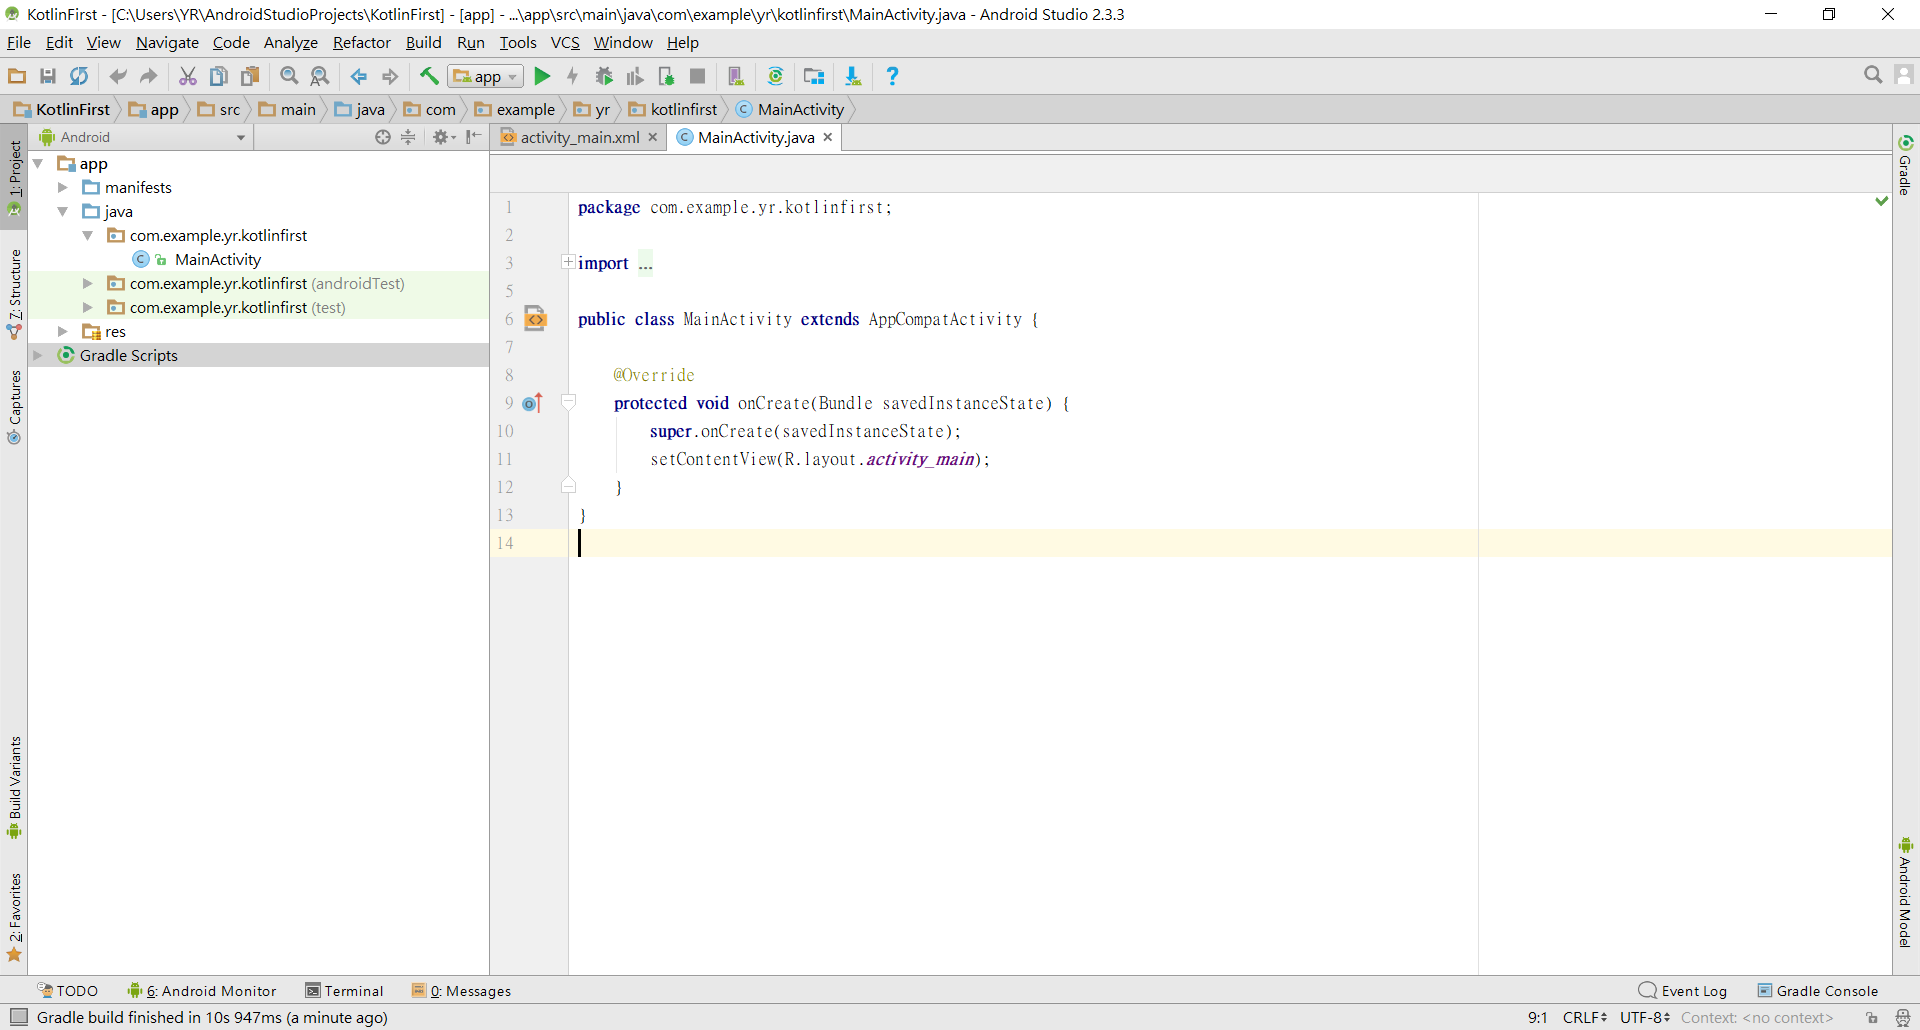
目前的專案還是Java
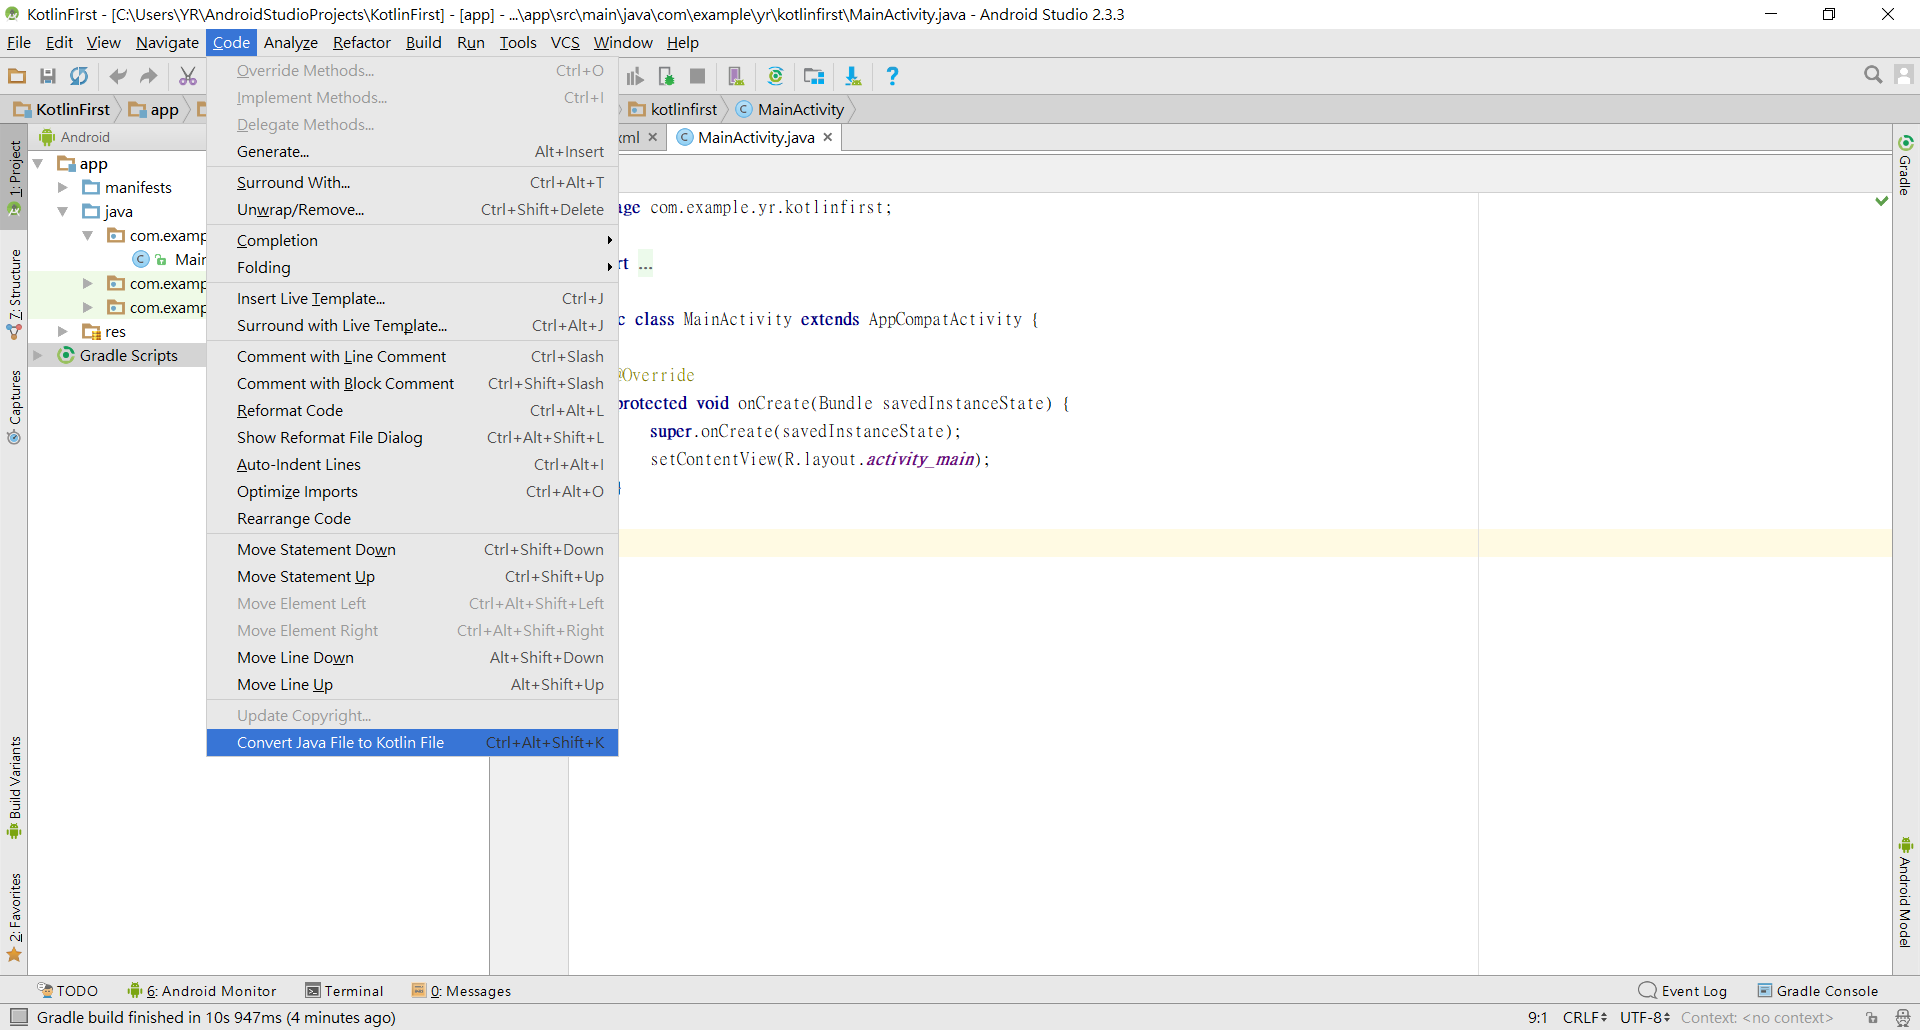
接著我們要把 Java 轉換成 Kotlin,點選上方工具列中 Code > Convert Java File to Kotlin File
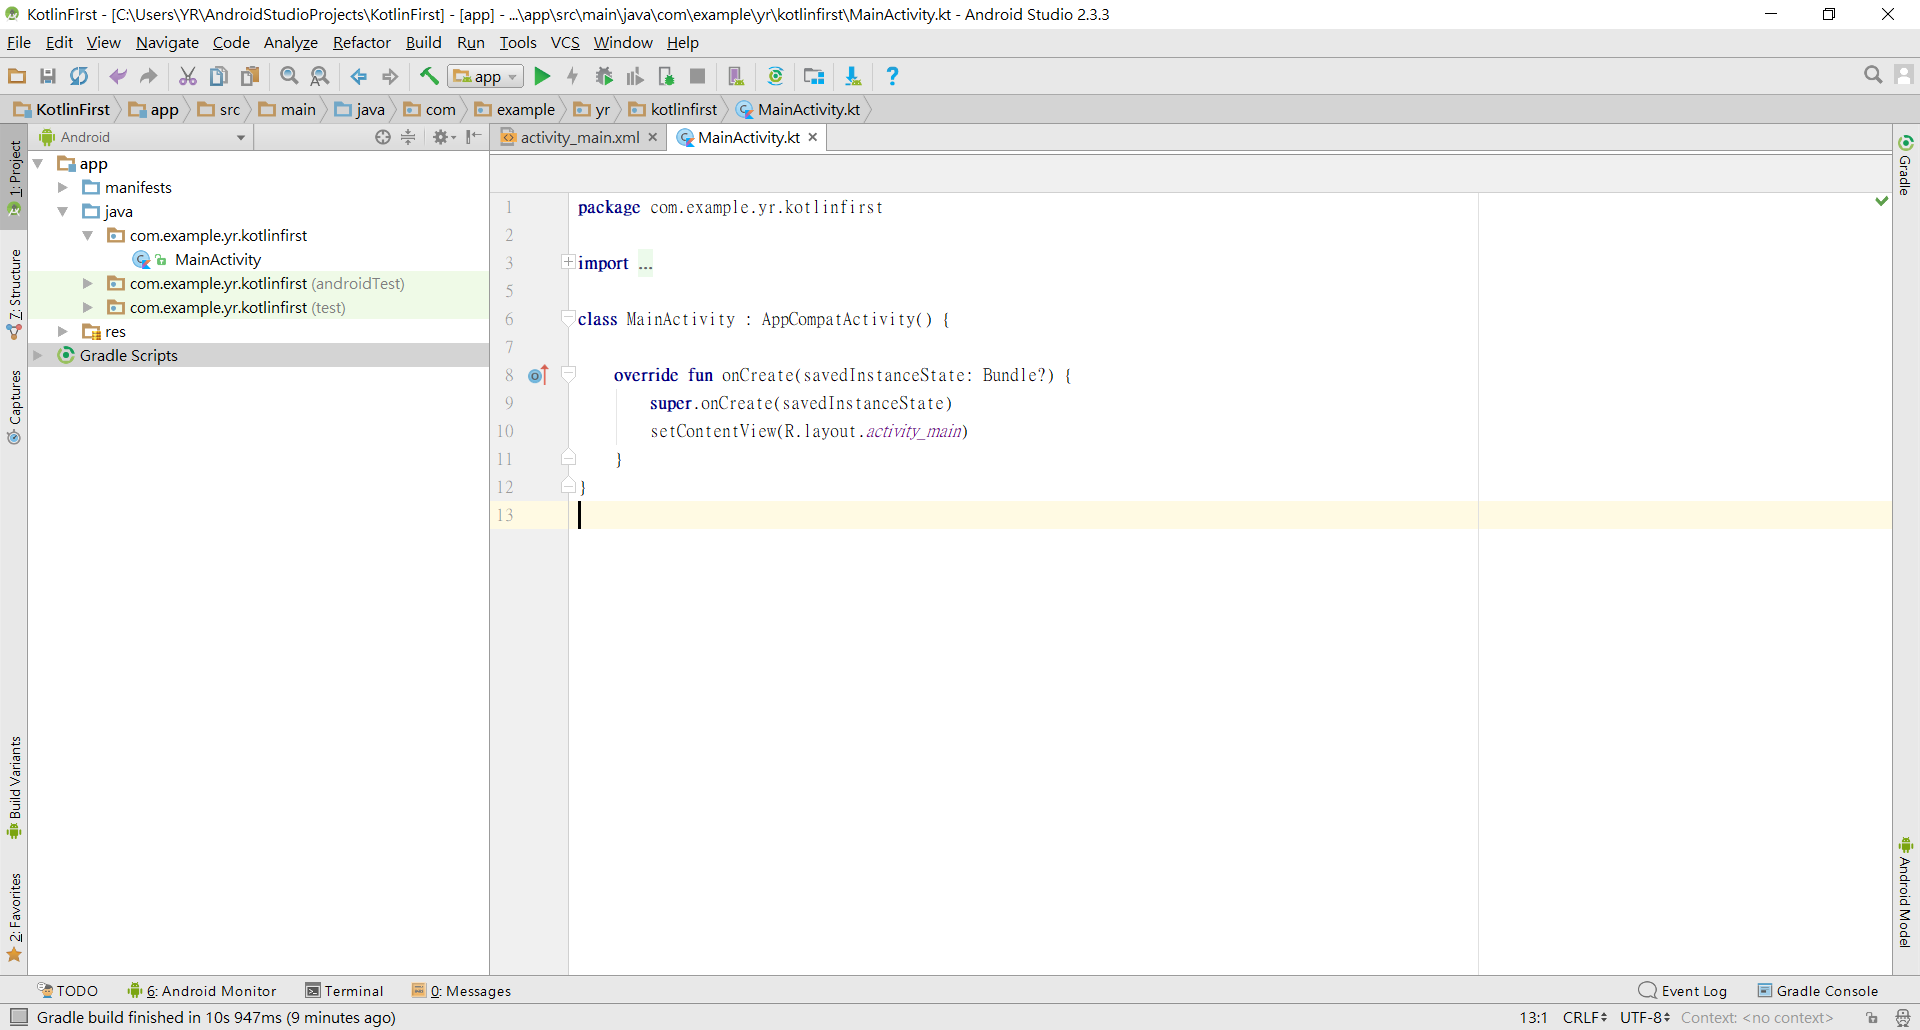
稍待幾秒鐘,轉換完成!!
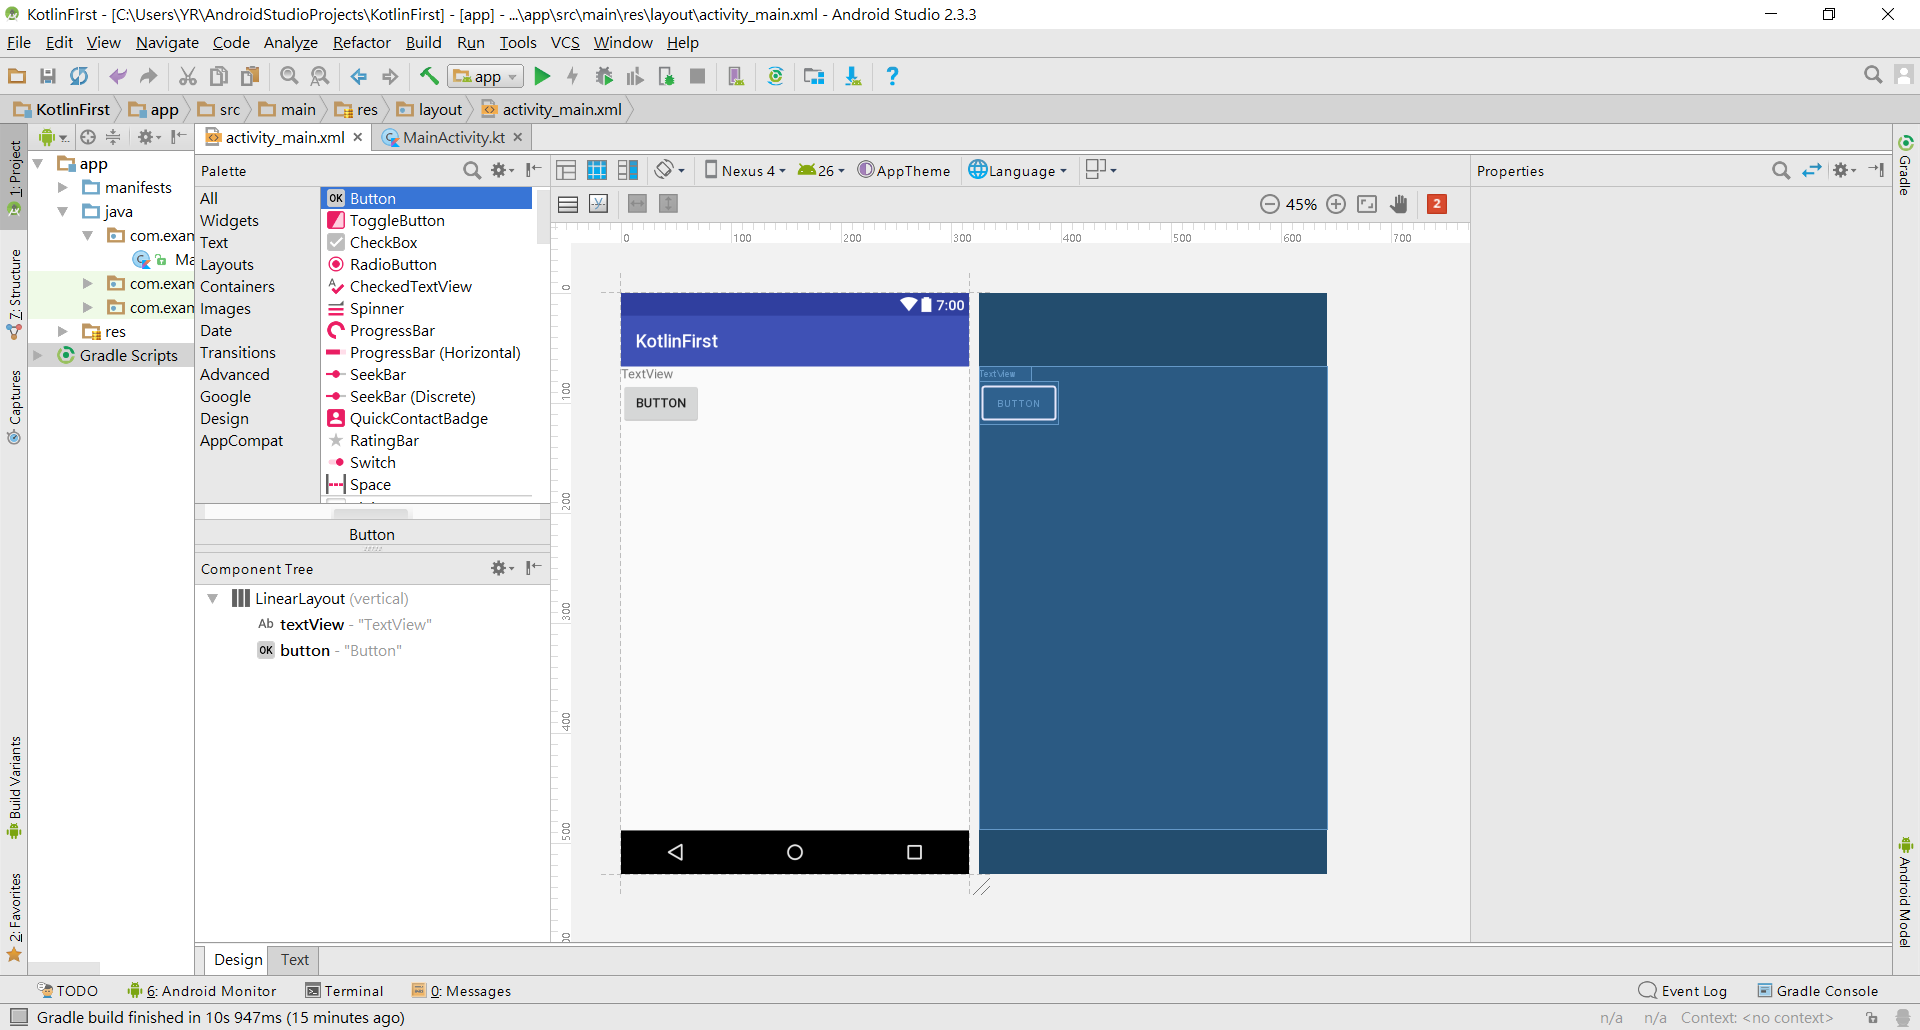
在 activity_main.xml 中新增一個 Button 和 TextView
切換至 MainActivity.kt,宣告變數
1
2
| var btn = findViewById(R.id.button) as Button
var txv = findViewById(R.id.textView) as TextView
|
設置監聽器,改變TextView文字內容
1
2
3
| btn.setOnClickListener {
txv.setText("Hello World !")
}
|
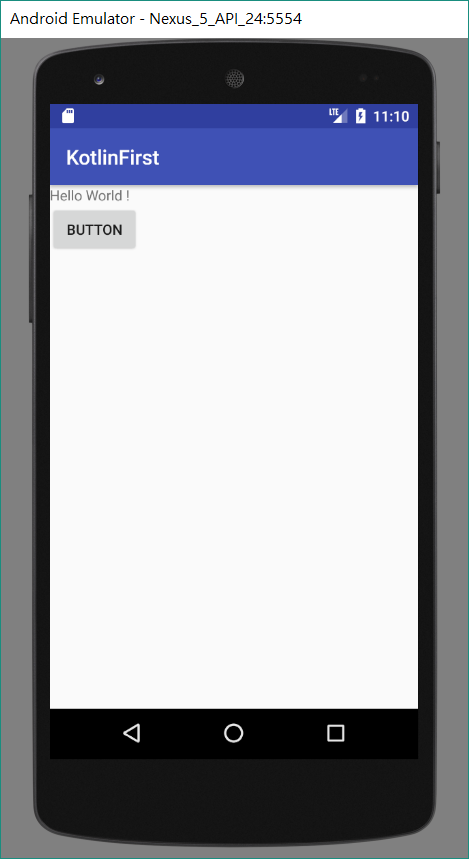
執行畫面參考

程式碼參考
1
2
3
4
5
6
7
8
9
10
11
12
13
14
15
16
17
18
19
20
21
22
| <?xml version="1.0" encoding="utf-8"?>
<LinearLayout xmlns:android="http://schemas.android.com/apk/res/android"
xmlns:app="http://schemas.android.com/apk/res-auto"
xmlns:tools="http://schemas.android.com/tools"
android:layout_width="match_parent"
android:layout_height="match_parent"
android:orientation="vertical"
tools:context="com.example.yr.kotlinfirst.MainActivity">
<TextView
android:id="@+id/textView"
android:layout_width="wrap_content"
android:layout_height="wrap_content"
android:text="TextView" />
<Button
android:id="@+id/button"
android:layout_width="wrap_content"
android:layout_height="wrap_content"
android:text="Button" />
</LinearLayout>
|
1
2
3
4
5
6
7
8
9
10
11
12
13
14
15
16
17
18
19
20
21
| package com.example.yr.kotlinfirst
import android.os.Bundle
import android.support.v7.app.AppCompatActivity
import android.widget.Button
import android.widget.TextView
class MainActivity : AppCompatActivity() {
override fun onCreate(savedInstanceState: Bundle?) {
super.onCreate(savedInstanceState)
setContentView(R.layout.activity_main)
var btn = findViewById(R.id.button) as Button
var txv = findViewById(R.id.textView) as TextView
btn.setOnClickListener {
            txv.setText("Hello World !")
}
}
}
|